


I published a couple of days ago my blog post about JWT Token. Since what you get from a subject can be understood by applying it, I've decided to write this post.
To fully understand this post, a tad Entity Framework and .Net knowledge is required since I skip over some details supposed to be known.
I choose Rider generally in my C# coding stuff because I'm a user of M1 and its UI/UX is similar to Visual Studio on Windows.
Here is its full GitHub Link which is runnable immediately when downloaded.
What will we do?
We'll create a basic Web API taking advantage of Swagger framework(it is a 'framework', yes again, Swagger is a 'framework', even IBM calls it as such) getting data from MySql db installed on our local. At first, the data can be obtained without any authorization mechanism, then we're going to add JWT based token authorization mechanism to this API.
NuGet Packages
We are going to apply JWT on an API, so, we need the following NuGet packages as well as Web API application.
- Microsoft.AspNetCore.Authentication.JwtBearer
- Microsoft.EntityFrameworkCore
- Microsoft.EntityFrameworkCore.Tools (it is necessary too since we must choose startup project to create migration)
- Pomelo.EntityFrameworkCore.MySql
- Microsoft.AspNetCore.Authentication.JwtBearer
Let's create the API,

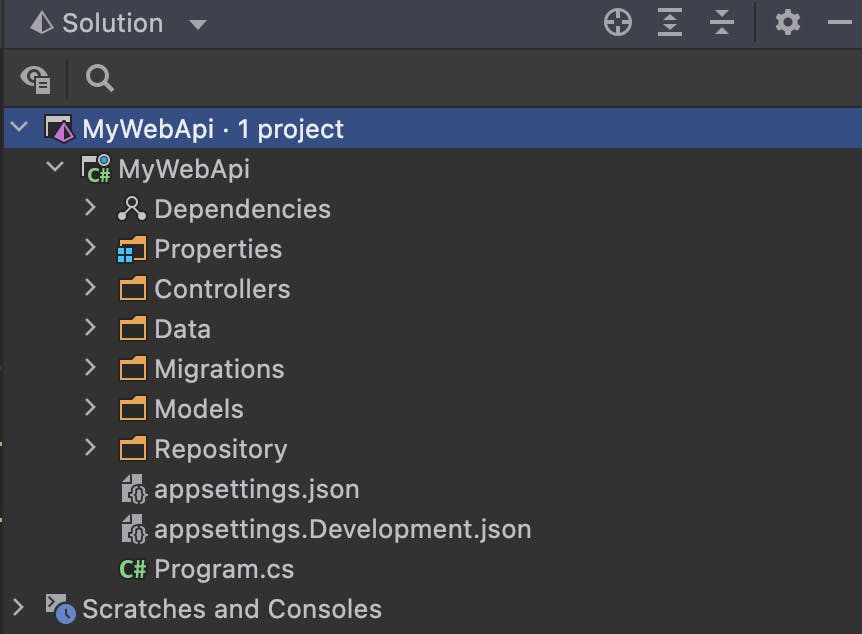
Add the following folders into the API, thereby helping us to be organized.
- Data
- Migrations
- Models
- Repository
- IRepository under Repository
Then, it is seen as following,
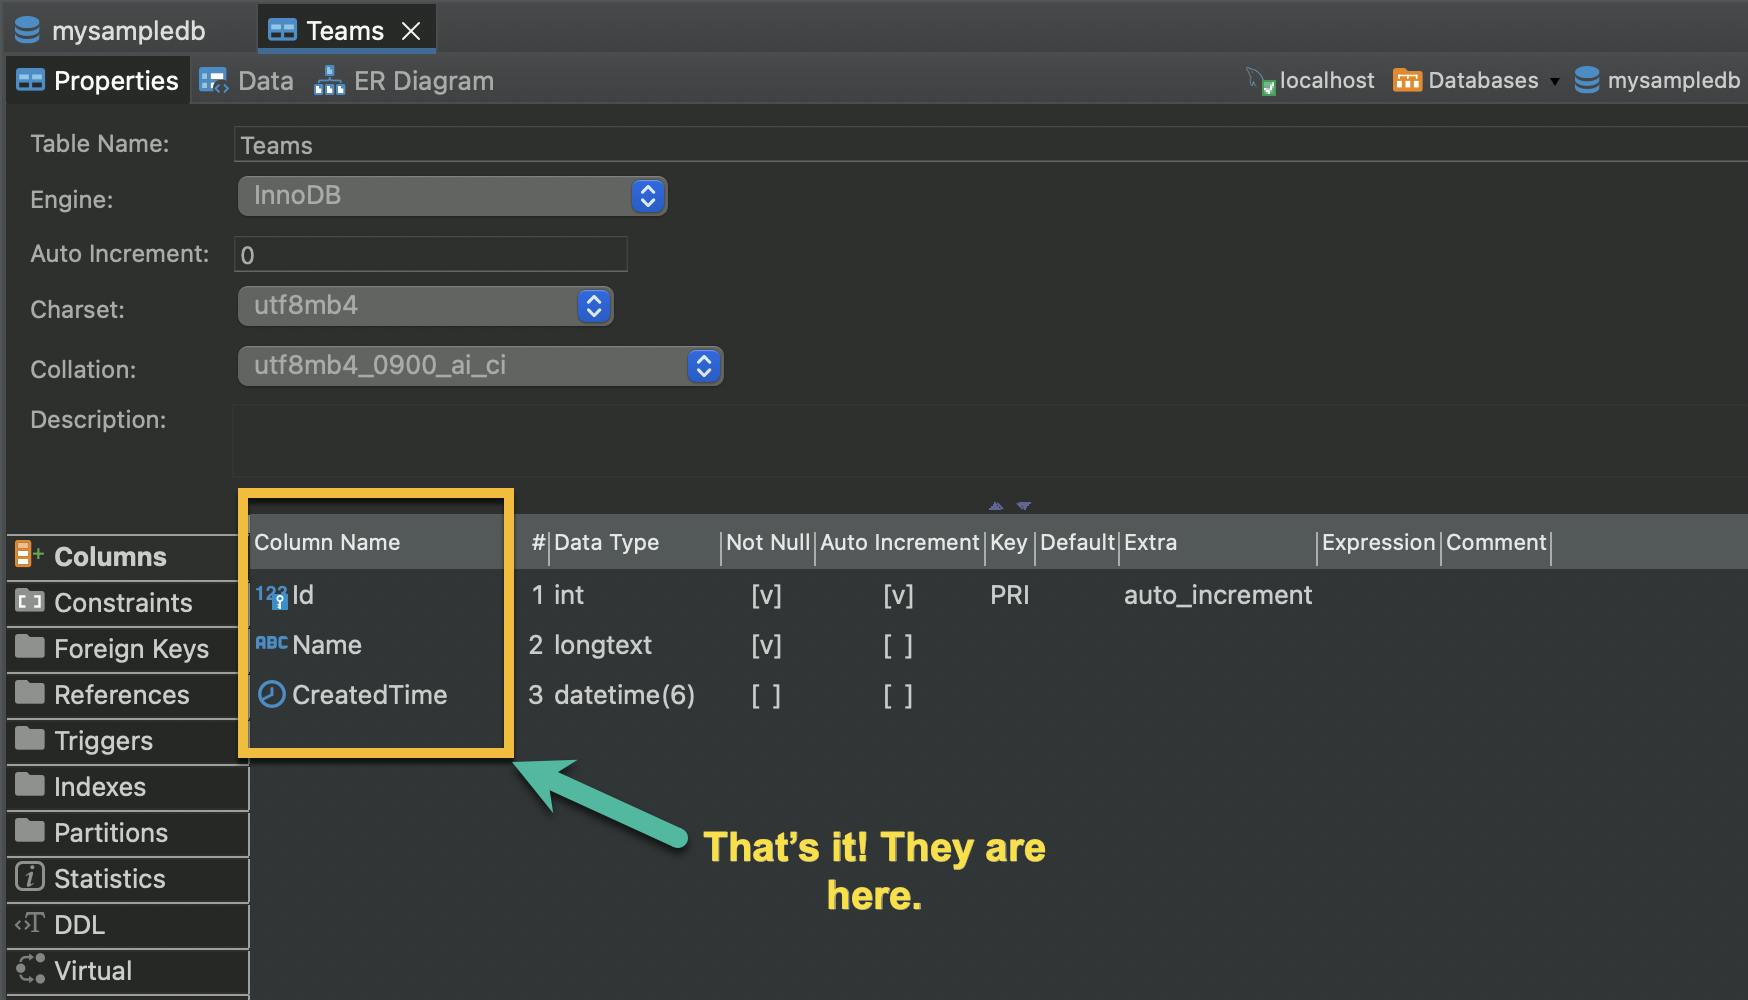
We will have 'Team' table simply consisting of creation date, name and id.
Team.cs under Model
using System.ComponentModel.DataAnnotations;

namespace MyWebApi.Models;

public class Team
{
    public DateTime? CreatedTime { get; set; }
    [Key]
    public int Id { get; set; }
    [Required]
    public string Name { get; set; } = null!;
}
ITeamRepository.cs under IRepository folder,
using MyWebApi.Models;

namespace MyWebApi.Repository.IRepository;

public interface ITeamRepository
{
    ICollection<Team> GetTeamMembers();
}
TeamRepository.cs under Repository folder
using MyWebApi.Data;
using MyWebApi.Models;
using MyWebApi.Repository.IRepository;

namespace MyWebApi.Repository;
public class TeamRepository : ITeamRepository
{
    private readonly ApplicationDbContext _db;

    public TeamRepository(ApplicationDbContext db)
    {
        _db = db;
    }

    public ICollection<Team> GetTeamMembers()
    {
        return _db.Teams.ToList();
    }
}
ApplicationDbContext.cs under Data folder
using Microsoft.EntityFrameworkCore;
using MyWebApi.Models;

namespace MyWebApi.Data;

public class ApplicationDbContext : DbContext
{
    public ApplicationDbContext(
                 DbContextOptions<ApplicationDbContext> options)
    : base(options)
    {

    }

    public DbSet<Team> Teams { get; set; }
}
I assume that you have had or have created a local db. For example, in my local it is called as mysampledb. I'm saying this because we need to register its service in Program.cs as following.
var connectionString = "server=localhost;" +
                       "user=root;" +
                       "password=yourdbpassword;" +
                       "database=mysampledb";
var serverVersion = ServerVersion.AutoDetect(connectionString);

builder.Services.AddDbContext<ApplicationDbContext>(
    dbContextOptions => dbContextOptions
        .UseMySql(connectionString, serverVersion)
        .LogTo(Console.WriteLine, LogLevel.Information)
        .EnableSensitiveDataLogging()
        .EnableDetailedErrors()
);
Then register the 'Team' entity as well.
builder.Services.AddScoped<ITeamRepository, TeamRepository>();
Now we're ready to add migration.
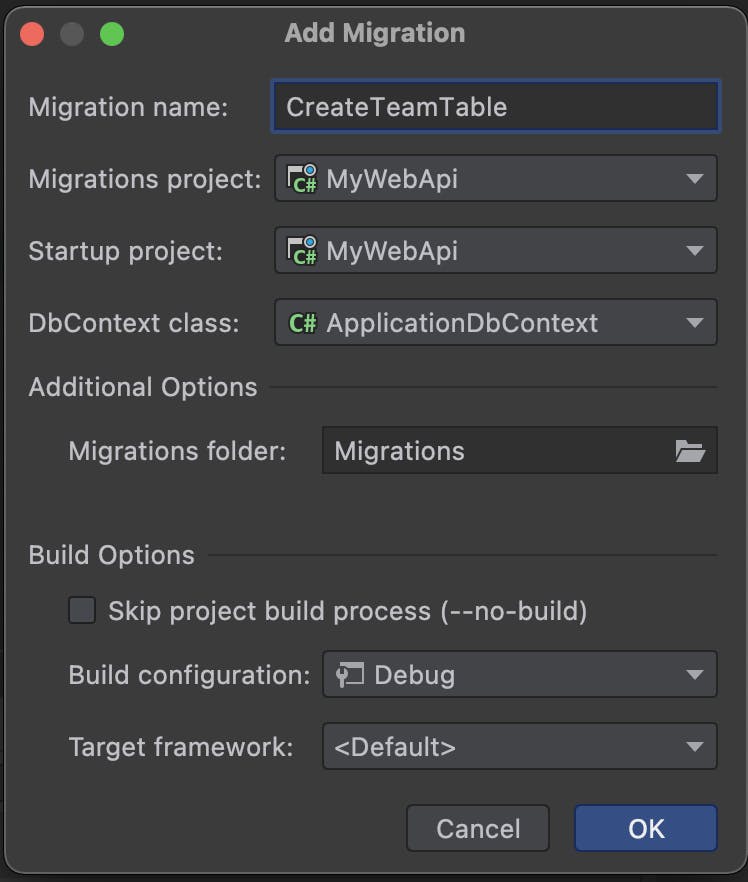
Yes, that's it! They came.
Let's add some data into it. For the sake of simplicity, I'm adding them directly.

Nice, let's run it and go further. 🥳

Even we can test it by Postman.
Until here, as you can see, we wouldn't need any authorization and not used JWT. As I mentioned in the first section of the series, we need a 'secret key' for negotiation, which is known by both the issuer and the audience.
I prefer to store it in appsettings.json. Before showing you how to obtain it as string, we need to authorize users by JWT. Due to this, we need to update our migration. For the sake of simplicity, let's add a user with password.
‼‼ Passwords never be stored in a table clearly. ‼‼
Append to User.cs under Mode folder.
using System.ComponentModel.DataAnnotations;

namespace MyWebApi.Models;

public class User
{
    [Key]
    public int Id { get; set; }
    [Required]
    public string UserName { get; set; } = null!;
    [Required]
    public string Password { get; set; } = null!;
    [NotMapped]
    public string Token { get; set; }
}
Append to ApplicationDbContext.cs under Data folder
public DbSet<User> Users { get; set; }
Then add and update migration to see the following result.
Add a user into it, let's say, username and password are "testuser".
Time to specify the secret key
In the appsetting.json file we add
"AppSettings": {
    "Secret": "sonerABCsoner123sonerDEFsoner123"
  }
As you see it is 32 characters, each of which is 1 byte, that is 256-byte. That's because we prefer to use HS256 signing algorithm.
Add AppSettings.cs ,
namespace MyWebApi.Data;

public class AppSettings
{
    public string Secret { get; set; }
}
Then, register JWT related stuff and obtain secret key from the appsettings.json
var appSettingsSection = builder.Configuration.GetSection("AppSettings");
builder.Services.Configure<AppSettings>(appSettingsSection);
var appSettings = appSettingsSection.Get<AppSettings>();
var key = Encoding.ASCII.GetBytes(appSettings.Secret);


builder.Services.AddAuthentication(options =>
    {
        options.DefaultAuthenticateScheme = JwtBearerDefaults.AuthenticationScheme;
        options.DefaultChallengeScheme = JwtBearerDefaults.AuthenticationScheme;
    })
    .AddJwtBearer(e =>
    {
        e.RequireHttpsMetadata = false;
        e.SaveToken = true;
        e.TokenValidationParameters = new TokenValidationParameters()
        {
            ValidateIssuer = false,
            ValidateAudience = false,
            ValidateIssuerSigningKey = true,
            IssuerSigningKey = new SymmetricSecurityKey(key)
        };
    });
Last, but by no means least, after var app = builder.Build(); line in Program.cs we need to append app.UseAuthentication();. At the final stage, let's check whether it works as we anticipate.
Let's see what we've done

Here we are. We're done 🥳 You can get all the code and MySql dump file from my GitHub.